


Diagnosing audio cutting out in Mercedes rear entertainment systems involves inspecting for damage, loose connections, and corrosion. Simple issues may be fixed with cleaning or resoldering, but complex problems require professional diagnostic tools to identify root causes using a meticulous disassembly process. This guide provides a step-by-step approach for repair, emphasizing accurate component identification, proper tools, safe disconnection, replacement, reassembly, and testing for optimal functionality, utilizing vehicle body shop expertise.
Experience audio dropouts during your Mercedes ride? Don’t worry, you’re not alone. We’ll guide you through repairing your Mercedes rear entertainment system when the audio cuts out. This comprehensive article covers diagnosing the issue, from common causes like faulty connections to damaged components. We’ll walk you through disassembling and inspecting the system, then provide a step-by-step replacement guide for those pesky faulty parts. Get back to enjoying seamless entertainment in your Mercedes.
- Diagnosing the Issue: Common Causes of Audio Cutting Out
- Disassembling and Inspecting the System for Damage
- Replacing Faulty Components: A Step-by-Step Guide
Diagnosing the Issue: Common Causes of Audio Cutting Out

Diagnosing the issue behind audio cutting out in your Mercedes rear entertainment system is a crucial first step in any Mercedes rear entertainment repair. While it might initially seem like a simple glitch, this problem often stems from underlying issues within the system’s components or its connection to other parts of your vehicle. Common culprits include faulty wiring, damaged connectors, or even moisture intrusion, especially if your Mercedes has sustained hail damage repair or been involved in a collision, requiring collision repair services.
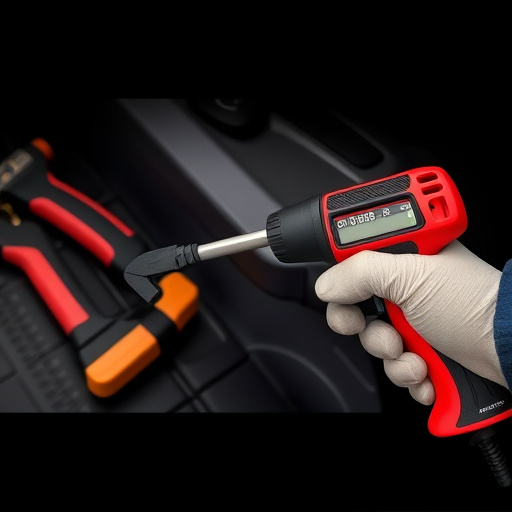
Careful inspection is key. Check for any visible signs of damage, loose connections, or corrosion. Sometimes, a simple cleaning or re-solder job can resolve the issue. However, more complex problems may require professional diagnostic tools to identify the root cause. This might involve testing individual components, checking power supplies, and verifying signal strength—all essential steps in ensuring a successful Mercedes rear entertainment repair.
Disassembling and Inspecting the System for Damage

When diagnosing a Mercedes rear entertainment system that experiences audio cuts out, disassembling and inspecting the components is crucial. Start by carefully removing the head unit, speakers, and any connecting cables for close examination. Look for signs of physical damage, loose connections, or corrosion – issues that could lead to intermittent audio signals.
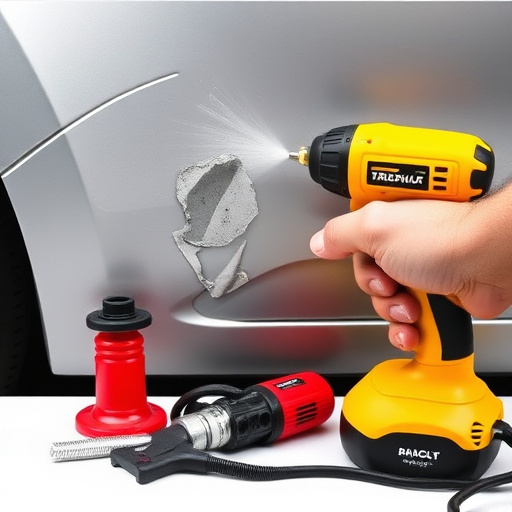
Inspecting each part individually allows for pinpointing the source of disruption. Common culprits include damaged wiring, faulty connectors, or worn-out components like capacitors. A paintless dent repair technique might be employed if any external damage is present, ensuring a professional restoration without the need for a collision center visit.
Replacing Faulty Components: A Step-by-Step Guide

When repairing Mercedes rear entertainment systems that experience audio cutting out issues, one of the most common culprits is faulty components. To replace these, follow this step-by-step guide designed specifically for Mercedes rear entertainment repair.
1. Identify the Problem Component: Start by locating the problematic part, which could be a faulty wire, connector, or an aging receiver. A vehicle body shop’s expertise is invaluable here, as they can diagnose the issue accurately.
2. Gather Necessary Tools and Parts: Ensure you have the right tools and replacement parts for your car body repair. This may include new cables, connectors, or a complete entertainment system unit, depending on the extent of the damage in the vehicle bodywork.
3. Disconnect Power and Remove Accessory: Before beginning any car body repair, disconnect the battery to prevent short circuits. Then, carefully remove panels or trim that cover the rear entertainment system, exposing the components for easy access.
4. Replace Faulty Parts: Swap out the identified faulty parts with new ones, ensuring a secure fit. Double-check connections and tighten any loose bolts in the vehicle body shop’s work area.
5. Reassemble and Test: Once all parts are replaced, reassemble the panels or trim and reconnect the battery. Power on the system to test its functionality, ensuring the audio no longer cuts out.
Repairing your Mercedes rear entertainment system when audio cuts out can be a straightforward process, especially with a thorough understanding of the common causes and step-by-step replacement guides. By diagnosing the issue, carefully disassembling the system, and replacing faulty components, you can restore seamless audio enjoyment for both you and your passengers. Remember, a well-maintained Mercedes rear entertainment system enhances your in-car experience, ensuring every journey is filled with uninterrupted entertainment.